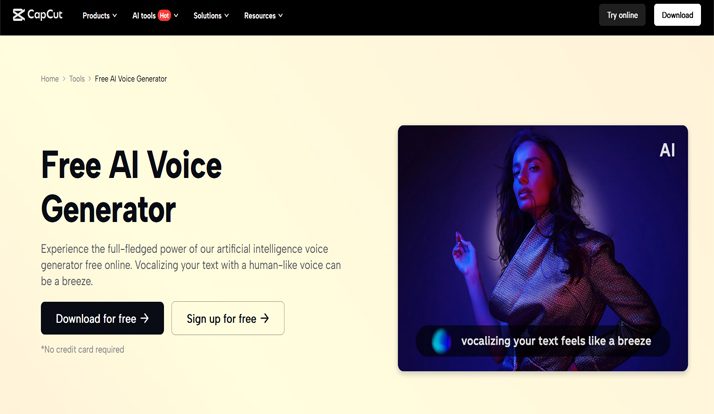
Creating educational videos used to mean spending hours recording voiceovers, editing audio, and refining the final product. But thanks to CapCut’s AI Voice Generator, you can now craft professional-sounding narration for lessons, tutorials, or explainers—without needing a microphone or recording booth.
CapCut’s Desktop Video Editor puts powerful tools in your hands, including a smart text-to-speech voiceover feature that transforms typed content into lifelike narration. Whether you’re teaching science, explaining grammar rules, or guiding viewers through math problems, this tool can help you streamline content production, maintain consistency, and reach students across languages and accents. Let’s explore why educators and content creators love CapCut’s AI Voice Generator—and how you can use it for educational videos.
Why Use CapCut’s AI Voice Generator for Educational Videos?
CapCut’s AI voice feature doesn’t just save time—it enhances your ability to engage and connect with students. Here’s how:
1. Saves Time on Recording and Editing
Recording voiceovers can be time-consuming and prone to errors. With AI narration, all you need is your lesson script. CapCut reads it aloud for you, perfectly every time.
2. Professional Sound Without Expensive Equipment
You don’t need a fancy microphone or soundproof room. The AI voices in CapCut are clear, expressive, and free from background noise.
3. Multiple Voices and Languages
You can choose from male and female voices, various tones, and even different languages. This helps you create inclusive content or adapt a lesson for international students.
4. Easily Revise and Update Content
Need to change a line or correct a mistake? Just update your text and regenerate the voice. It’s quicker than re-recording entire sections.
5. Consistency Across Lessons
Using the same voice across multiple videos creates a consistent and familiar experience for viewers, helping to build trust and brand recognition for educational channels.
How to Use CapCut Desktop Video Editor AI Voice Generator for Educational Videos
Creating AI-narrated lessons in CapCut by using Text to Speech AI is incredibly easy. Here’s a step-by-step guide:
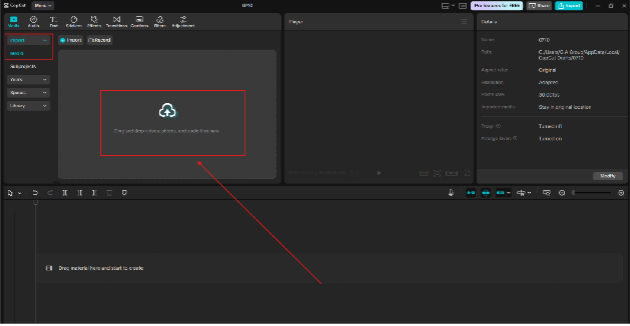
Step 1: Prepare Your Script and Launch CapCut Desktop
Start by drafting your educational content in a text file. Keep your language clear and structured. Educational videos benefit from shorter sentences, helpful transitions, and examples. Then, open CapCut Desktop Video Editor and click on “New Project” to start. Import your visuals—images, animations, or video clips—that accompany the script. Drag them to the timeline in the order you want them to appear. Use screen recordings, diagrams, or stock footage to make lessons more visual.
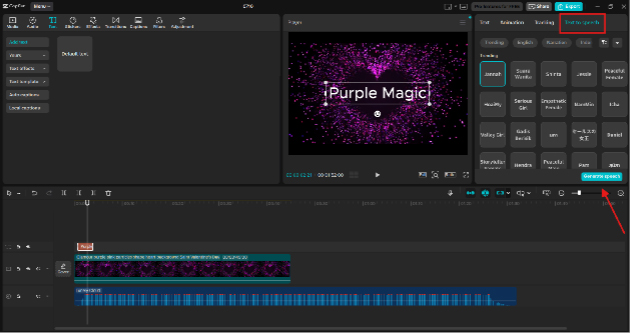
Step 2: Generate Voiceover Using the AI Voice Generator
Now it’s time to bring your script to life with AI narration. Click “Text” in the top bar. Select “Text to speech” from the dropdown. Paste your script into the box. Choose your preferred language, accent, and voice type (male/female, professional/friendly, etc.). Hit “Generate Speech” to create the AI audio. Once the voiceover is ready, it will appear as an audio clip in your media bin. Drag it onto the timeline below your visuals to sync narration with the video content. If your video has multiple segments, generate voiceovers in short chunks to facilitate easier syncing. Use AI Video Upscaler to enhance the clarity and quality of your video.
Step 3: Edit, Sync, and Export Your Educational Video
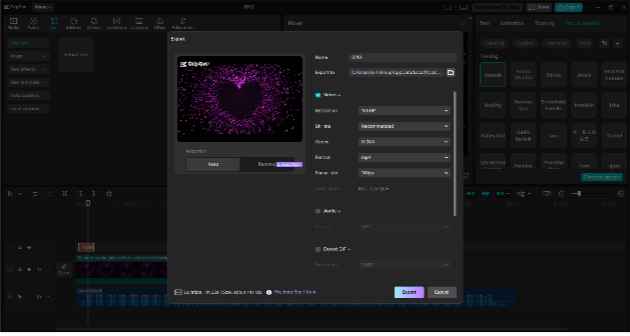
Now, fine-tune your video by trimming or extending clips to match the voiceover’s pace. Add subtitles for accessibility (CapCut can also auto-generate these). Use background music at low volume to enhance engagement. Apply transitions, text overlays, or highlight key points on screen. When satisfied, click “Export”, choose your resolution (1080p is great for most educational platforms), and save your video. CapCut also allows you to export directly to platforms like YouTube, TikTok, or Google Drive.
Tips to Make Educational Videos Even Better
Whether you’re teaching middle school biology or advanced programming, here are some bonus tips to maximize learning:
Keep It Short and Focused
Split longer topics into bite-sized videos. Learners retain more information from 5– to 10–minute videos than from 30- minute lectures.
Use Visual Aids
Diagrams, icons, and screen annotations help explain concepts more clearly. CapCut’s overlay and effects tools are perfect for this.
Match Voice Tone to Audience
CapCut allows you to select different tones, including casual, professional, and friendly. Match the tone to your students—casual for younger kids, professional for adult learners.
Add Calls to Action
Encourage interaction. Add captions like “Pause and try it yourself!” or “Comment below with your answer.”
Test Before You Publish
Listen to the generated voice. Does it mispronounce technical terms? If so, try changing the spelling slightly (e.g., writing “alguh-rithm” instead of “algorithm”) to improve pronunciation.
Make Learning More Accessible
CapCut’s multilingual AI narration is perfect for creating bilingual videos or reaching non-native speakers. For example, an English lesson could be narrated in Hindi, Spanish, or Chinese—breaking down language barriers and making global learning easier.
Conclusion
CapCut’s AI Voice Generator opens up new possibilities for educators, coaches, and content creators. With just a written script and a few clicks, you can create polished, engaging, and consistent narration—no microphone needed. It not only saves time but also makes content creation accessible to everyone, whether you’re a teacher with a tight schedule, a student making a school project, or a content creator producing tutorials from home. If you’re ready to elevate your educational videos and streamline your voice recording sessions, give CapCut Desktop Video Editor a try. With AI- powered voiceovers, your lessons will sound sharp, professional, and ready to educate the world.